Crack testing
Crack detection is an important part of materials testing and is used to detect and evaluate cracks or crack initiation in materials. It is particularly relevant to ensure the quality and integrity of components or materials.
Application areas
Crack detection is used in all industries where material integrity and quality are of great importance.
Used primarily in the manufacture and inspection of machine components such as gear parts, shafts, crankshafts, housings and bearings.
Crack detection is used here in the manufacture and maintenance of vehicles to ensure that safety-critical parts such as axles, steering parts, engine components and body components are crack-free.
In the aerospace industry, crack testing is used to monitor and inspect aircraft components such as wings, engines, landing gears and structural parts to detect potential cracks or fatigue damage at an early stage.
To ensure that structural elements such as hulls, welds, propeller shafts and propulsion systems are intact and free of cracks, crack testing procedures are also used on ships and offshore installations.
In the construction industry, crack detection methods are mainly used in the inspection of structures such as bridges, high-rise buildings, retaining walls and concrete structures in order to detect possible damage, cracks or material fatigue at an early stage.
When inspecting turbines, pipelines, pressure vessels and other components of plants such as wind turbines, the aim is to ensure that they can be operated safely and reliably.
Cracks can be caused by a variety of factors, including material fatigue, stress corrosion cracking, manufacturing defects, excessive loading, or environmental factors. Regular crack detection can identify potential weaknesses at an early stage to avoid costly damage, accidents or production downtime.
In crack detection, various methods are used to identify cracks or crack initiation in materials. The choice of method depends on various factors such as the material, the type of component to be tested and the specific requirements. The most common methods of crack detection include:
In this method, a magnetizable powder is applied to the surface to be tested. The application of a magnetic field makes cracks or the beginnings of cracks visible, since the powder shows magnetic attractive forces at these points.
In dye penetrant testing, a colored penetrant is applied to the surface of the workpiece. After a defined exposure time, excess penetrant is removed and a special developer is applied. Cracks or crack initiation become visible as the penetrant enters the cracks through capillary forces and is made visible by the developer.
This method uses ultrasonic waves that are sent into the material. Cracks or crack initiation reflect the sound waves, and by analyzing the reflected signals, cracks can be located and characterized.
In this process, an eddy current is induced in the material, and cracks or crack initiation lead to a change in the eddy current fluxes. These changes can be detected and used for crack identification.
By radiating the material with X-rays, cracks or crack initiation can be detected on film or digital imaging.
This method uses infrared radiation to measure temperature differences on the surface of a workpiece. Any cracks are then detected by deviating heat radiation.
Each of the methods has its own advantages and disadvantages, and the choice depends on the specific requirements and circumstances of the particular testing task. A combination of several methods is often used to obtain a comprehensive picture of material integrity.
Our products for crack detection applications
From testing equipment to testing devices and consumables, there is a wide range of products for crack detection. These are used to improve the efficiency and accuracy of crack detection and to meet the requirements of various industries.
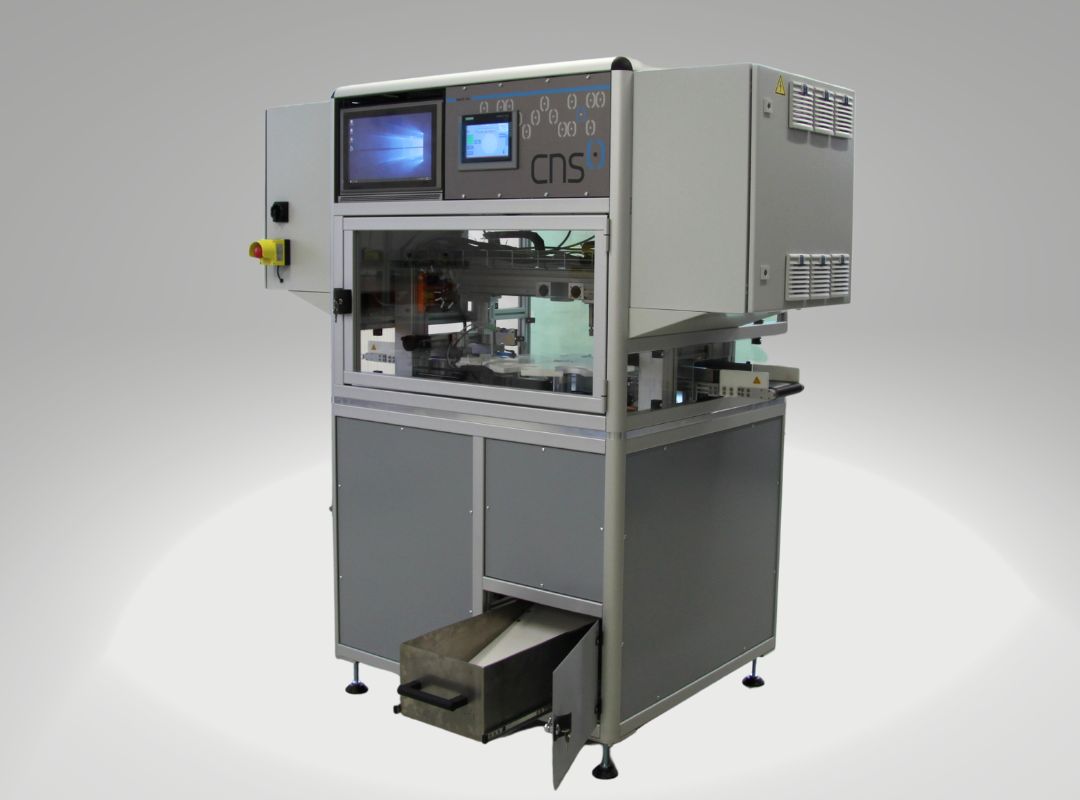
QutEC.ABS
- Semi-automatic testing machine for ABS rings
- Manual placement of component carriers
- Feeding the rings to the test station
- Lift out ring, set in rotation and Start test
- Sorting after evaluation into IO/NIO parts and separate parts handling
- Manual and automatic testing freely selectable

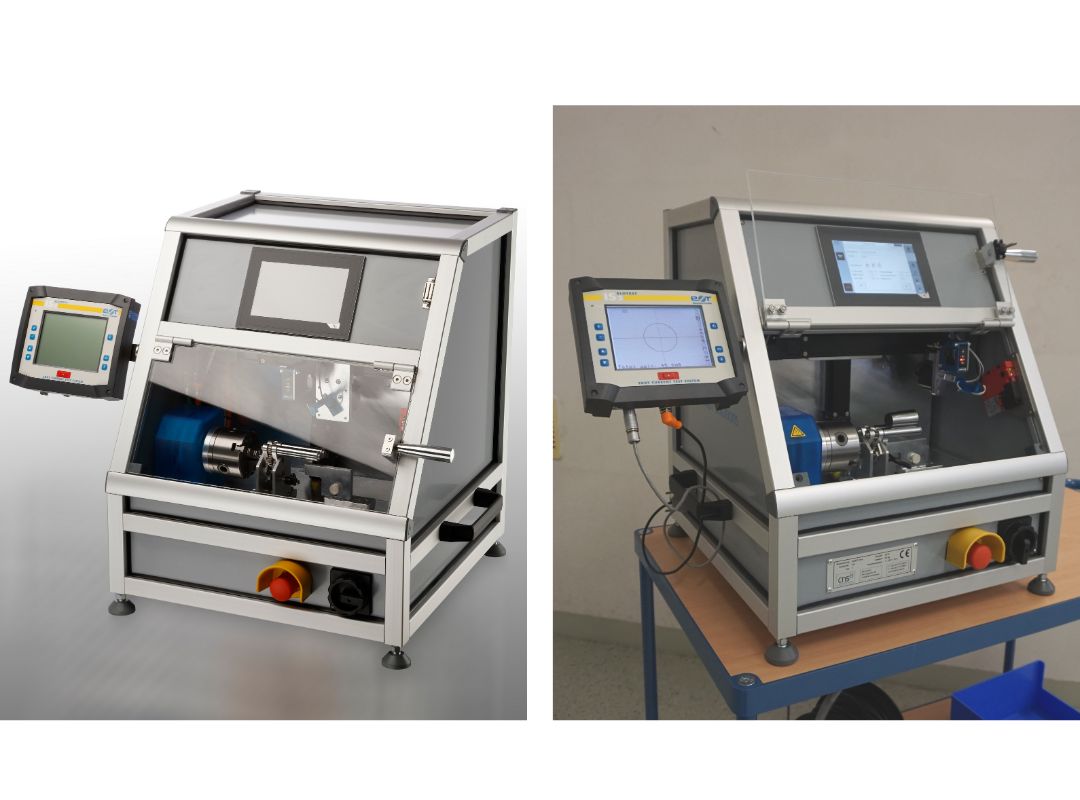
QutEC.mini
- Use for grinding fire detection and crack detection
- Four-axis inspection system
- easy to use parts selector via Touchscreen
- Partial rotation by 2 driven rollers and chuck
- Interchangeable probes for crack detection or grinding burn test of the lateral surface and the end face

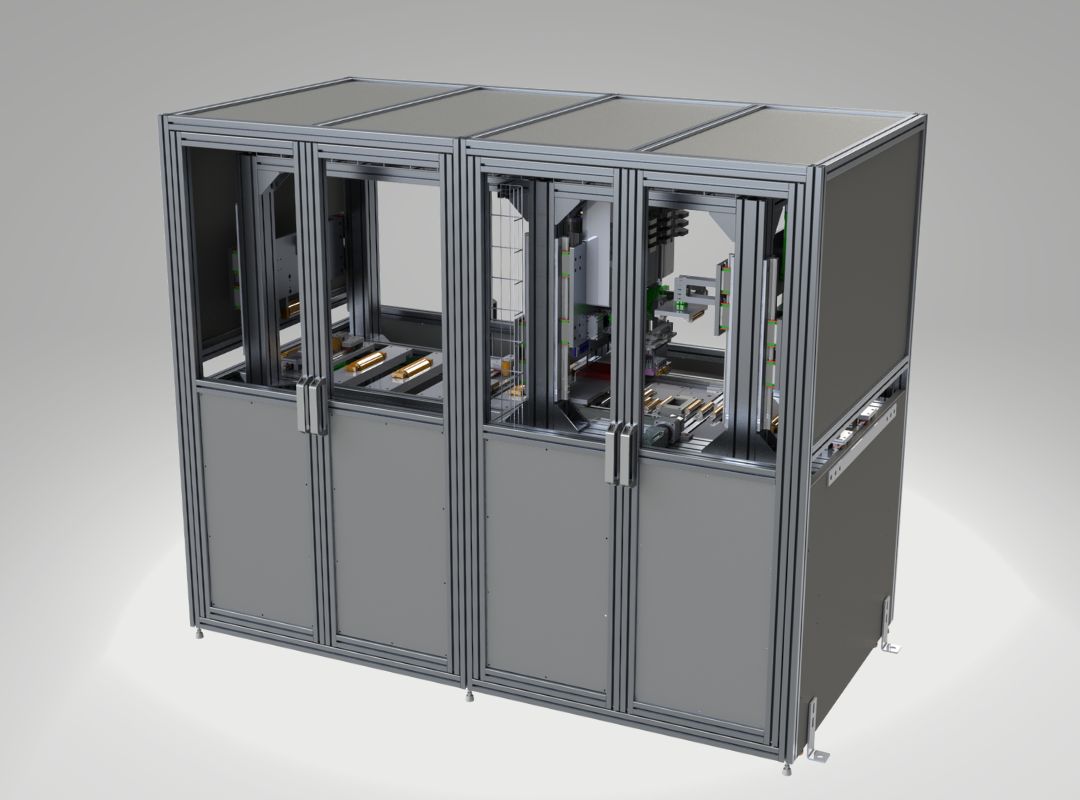
QutEC.sbc
- Crack detection of hardened sprockets andwheels and gears
- Automated feeding of the test parts
- Real-time display of defective Test parts
- automatic IO/NIO evaluation
- Testing speed: 25 parts / minute
- free creation of calibration curves

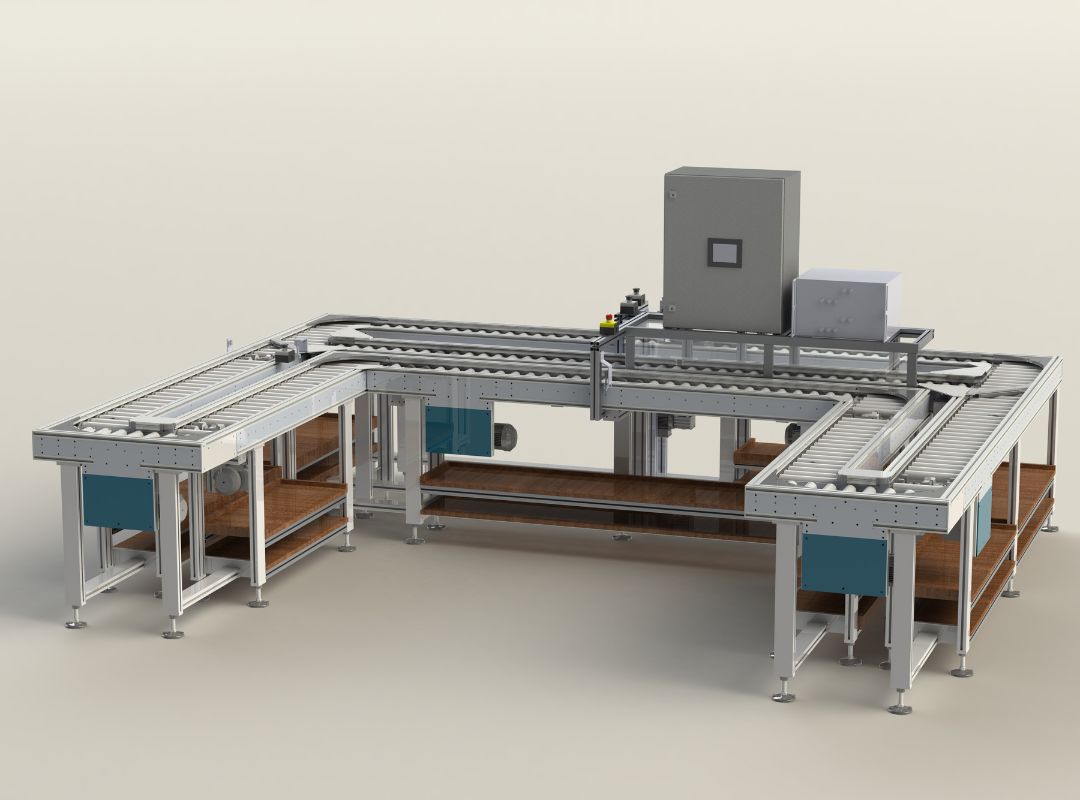
QutEC-sbc_array.B1
- Feeding of the Copper profiles and bars via conveyors
- Automatic feeding of reference defect parts
- Cycle time: 0.2 m/s
- Dimensions: 2.250 / 1.875 / 1.175 (W/H/D)

